--------------------------- --------------------------- | - Shaping the Head - The head is the beginning point of every character, and the hardest part to perfect. But I'll show you a few things that might help. Well, lets start off by reviewing the basics. The Basics
Drawing a Face |

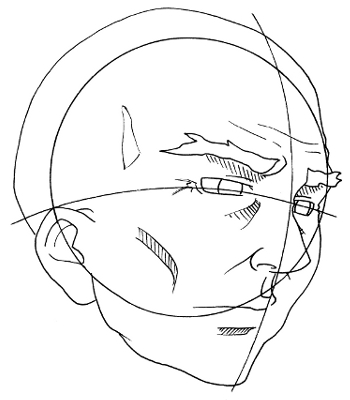
Step One - Lines Start off by drawing a circle. Imagining which way your character is looking, draw a center line. Now draw the eye line. You now have your center line and eye line pointing you in the right direction. | 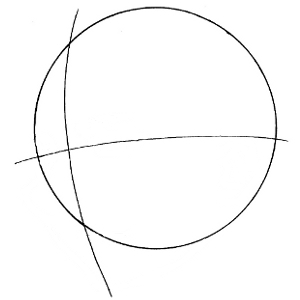 |
Step Two - Face First make sure you leave enough space to become the forehead, then draw a little inward space for the eyes. This space show be where the eyes are going to be. Now start drawing outward for the cheek. Gently slope down towards the center line. Unless your going for a perfectly pointed chin, start drawing it a little before the center line. After you pencil the cheeks and jaw, draw in the nose. I suggest using the eye line as a starting point. Imagine how the mouth will look, and leave space for it. | 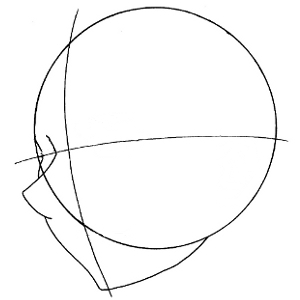 |
Step Three - Mouth The mouth usually sits closer to the nose than to the chin. So that's where we're going to put it. We can achieve this by drawing a simple line. Drawing a little dimple under the mouth is a nice touch. |  |
Step Four - Eyes Take into account the space between the eyes. With that in mind, draw the eyes on the eye line. Beginners Hint: | 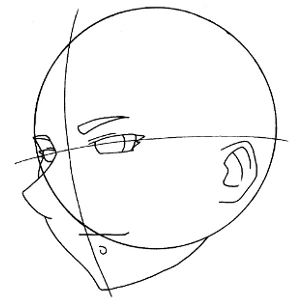 |
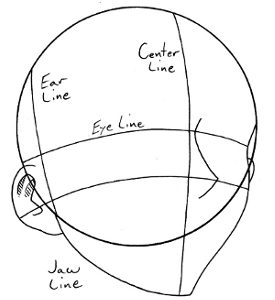
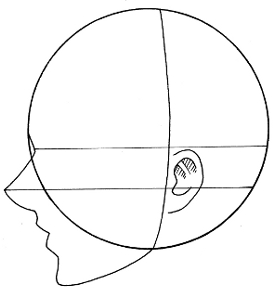
Step Five - Ears Imagine the ear line going up from the jaw line. You can just draw a 'C' shape, or draw something more realistic. Beginners Hint: | |
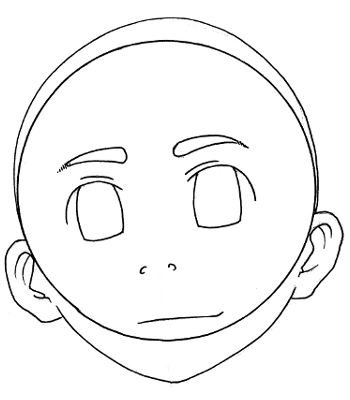
Final Animation - Here is an animation that might prove useful. Remember to find a way of drawing that is comfortable for you. And then make it your own. |  |
Creating Characters
Here are some examples.
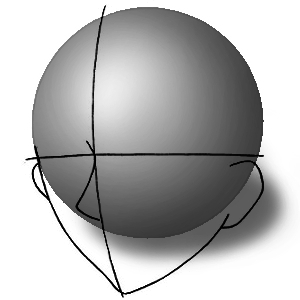
Remember to think of the circle as a solid sphere. Always try and 3D it in your mind's eye. You'll get better at it as time goes by.
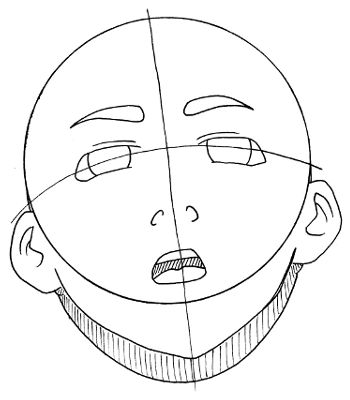
 Bring the jawline close up to the circle for the cute, young, comical, and lovable types of character. | 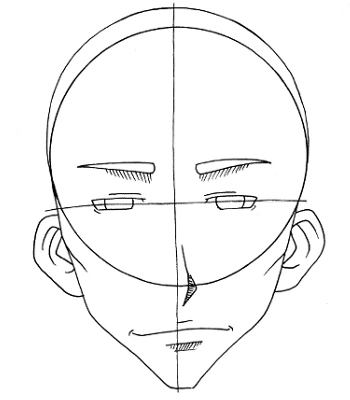 Make a long angular jawline for the more realistic type of character. |
 | 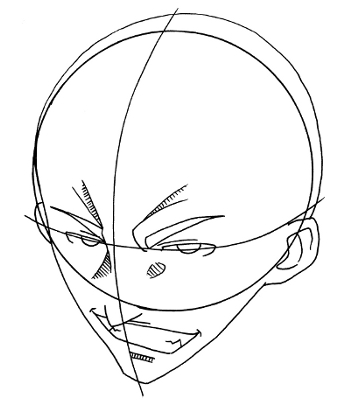 |
Don't feel confined by the circle. You can point the head in any direction using a circle.
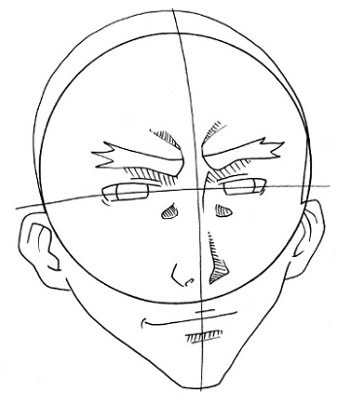
|  Add more wrinkle lines to increase the age of any character. |
Copyright © George S. This website was designed and published in 2009 by George S. All rights reserved. No part of this publication may be reproduced or used in any form or by any means – graphic, electronic, or mechanical, including photocopying, recording, taping, or information storage and retrieval systems – without the written permission of the publisher.